DIY: Spray Painting Lamp Gold
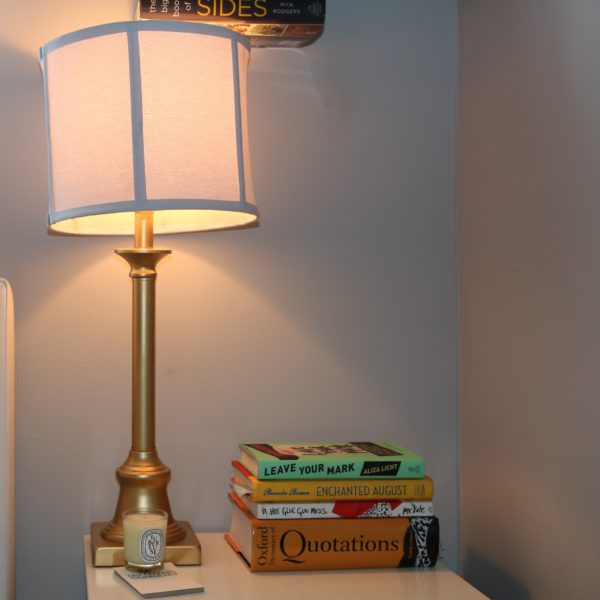
I have been on a hunt for the perfect gold bedside lamp that wouldn’t break the bank. I looked around for a bit and it seemed everything I actually wanted was way above my price range. I planned on upcycling my Restoration Hardware lamps but they are too expensive to experiment on. Plus as my bedroom comes together, I realize those lamps are too bulky for my theme. I kindly donated them to our living room. I went to the Marshalls at Atlantic Terminal in Brooklyn over the weekend to see if I could find a cheap lamp that could be renovated. Lo and behold, perched on top of one of the shelves was a gorgeous, tall and skinny lamp that seemed perfect for my IKEA Hemnes nightstand. The only problem with it was the silver finish.
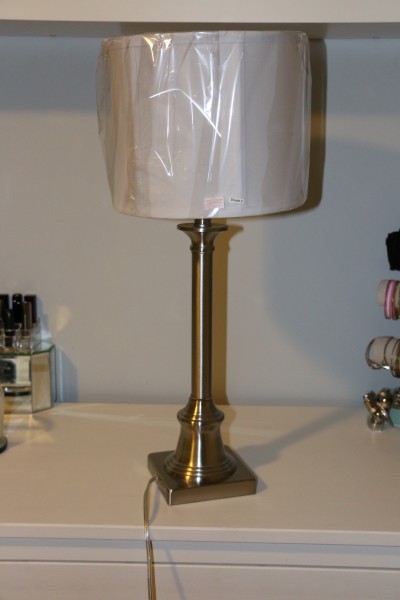
I combed through various Pinterest boards and got the idea of just spray painting the silver lamp, which cost me just $25.99. I went to my local hardware store and bought Krylon Colormaster Indoor/Outdoor Primer ($10) and Rust-oleum Bright Coat Metallic Finish ($12) in gold.
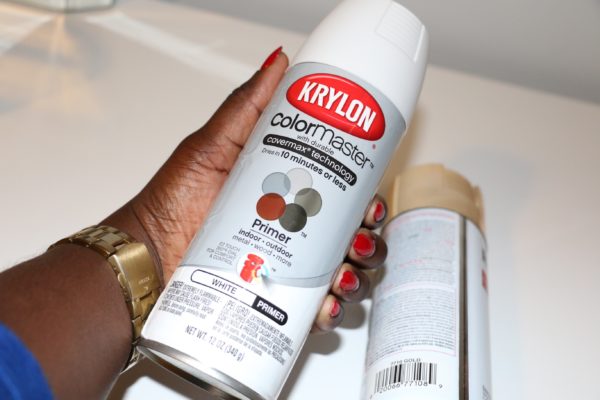
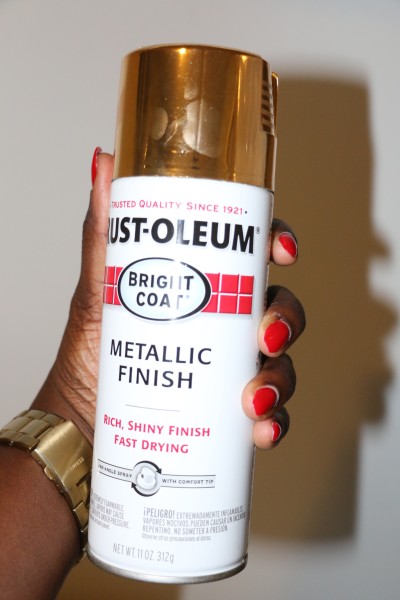
Even though the primer dries in 15 minutes, I decided to spray it on the lamp and leave it over night to dry. After all, you can’t rush perfection.
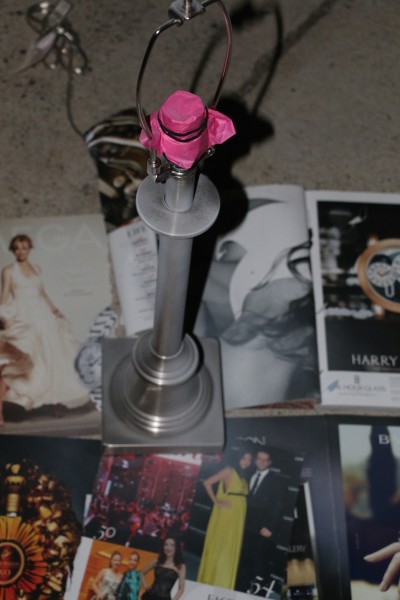
I cleaned the lamp with a damp cloth and let it dry. I then covered electrical attachments and the cord so that nothing would get in the crevices. This is very important. After all the prep work, I laid some old magazine pages on the ground and sprayed the primer in thin coats about 8 inches away. I let the first coat dry for about 15 minutes then followed up with two more coats, allowing each layer to dry for 15 minutes.
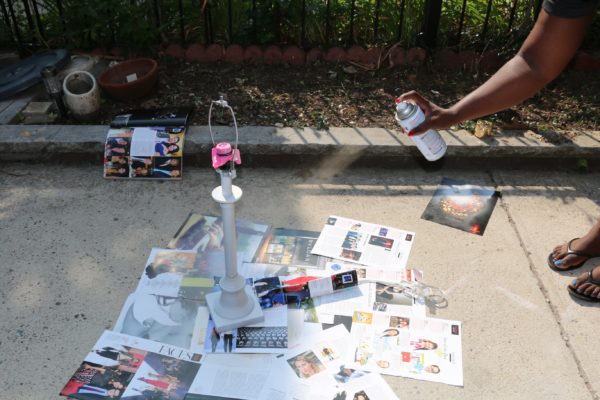
This is what the lamp with primer looked like the next day. The white finish was the perfect canvas to coat my beautiful lamp with gold spray.
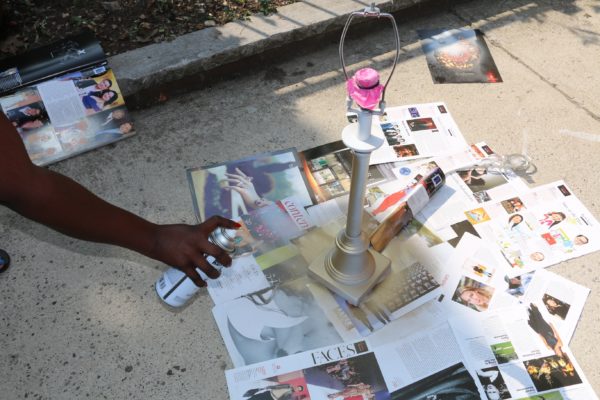
I enlisted my roommate Ali’s boyfriend Ben to snap pics while I carefully spray painted the Rust-Oleum Bright Coat Metallic Finish spray evenly around the lamp. I made sure to be a few inches away to do so. If you get too close, you will have streaks on the surface. I made sure to coat the base and around the top as well.
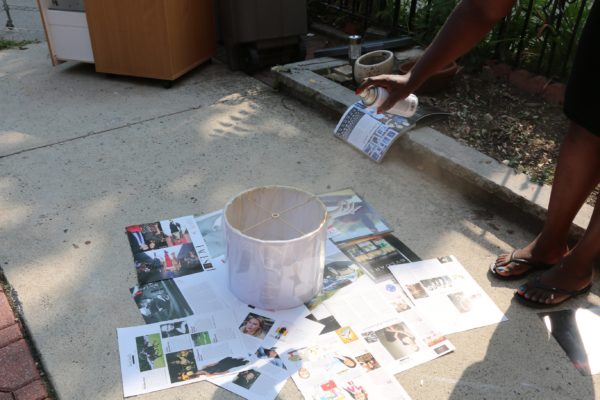
I also coated the metal on the lampshade, which already had plastic wrapping around it. If you have an old lampshade, make sure you wrap the fabric well to prevent paint covering it. I sprayed three coats on wire around the shade and let it dry. I also spray painted the little ball that secures the shade to the lamp base.
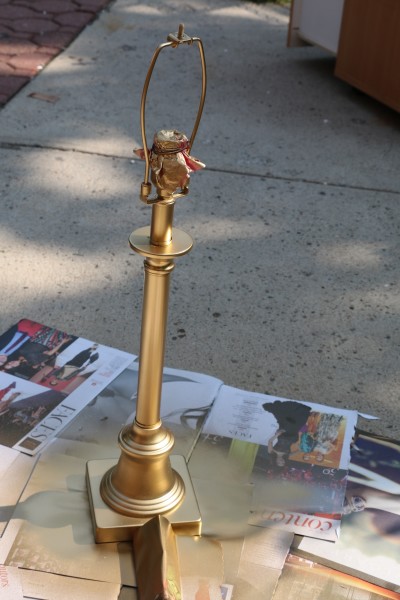 Here is the lamp perfectly coated with gold spray paint. Doesn’t it look amazing? I sprayed three coats to get this effect and made sure to let each coat dry for about 5 minutes before proceeding with the next coat. I let it dry then I assembled my pieces.
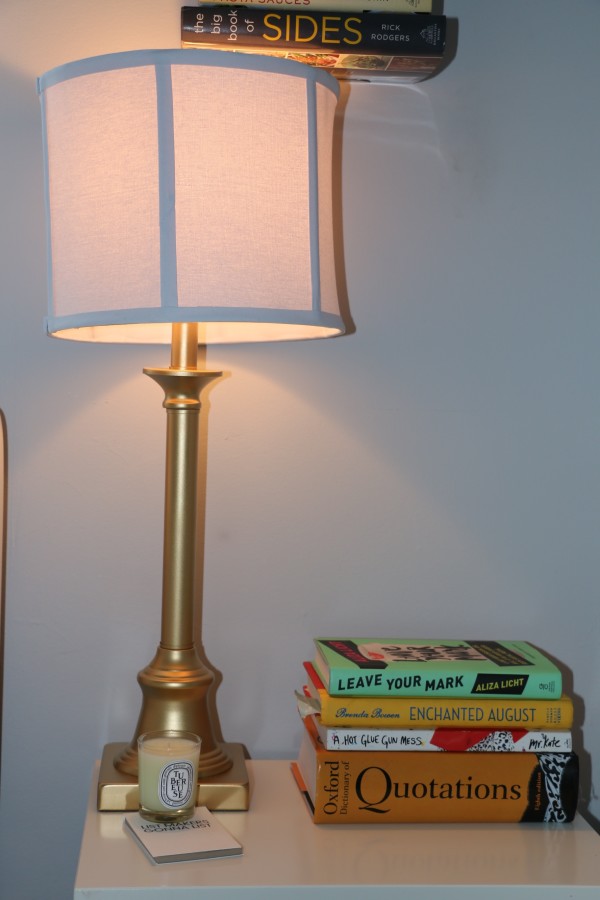
Here is the finished product. Looks amazing on my nightstand. I need to finish framing a few pictures then I will unveil the final look of my styled night stand. This entire process was so easy and can be used on other items, like shells, stones, clear vases and more. I hope you enjoyed this DIY.

