How to Install the IKEA LACK Shelf
 Since moving to Park Slope two months ago, I have been slowly putting my master bedroom together. Once of the biggest problems I had with decorating and organizing was running out of space. Who knew right? After packing the floor space with a dresser, a bed, two shelves and some nightstands, I decided to decorate upwards. That means utilizing the walls effectively.
Perusing the plethora of decor pictures on Pinterest, I noticed that many people were incorporating invisible shelves in their projects. I began looking for a few options on the usual sites, Crate and Barrel, Pottery Barn, West Elm, Amazon and a few Google Marketplace sites. I even searched through Etsy. The result was a mash up of various sizes and lengths of invisible shelves that ran the gamut. Some were super inexpensive but the material also looked that way, while others were too pricey to fit in my project scope. Then I saw a few people using the IKEA Lack shelves, which fit in my budget and my decor theme. I ventured to the IKEA store in Red Hook, Brooklyn for a closer inspection of the Lack shelving system. I was in love. Not only was the 42inch shelf $14.99, it also came in several colors, including turquoise, my accent color.
I chose the white IKEA Lack shelve for practicality but I intent to incorporate the turquoise shelve in some way soon. When I got home to install the shelf, I noticed that the package didn’t include anchors to mount the shelves. IKEA insists each wall is different and requires different anchors depending on what type of studs/dry wall you have. So I headed to my local hardware store after not finding a single stud in the area I wanted my shelf placed.
The LACK shelf is deceivingly simple. Don’t let the simplicity of the picture instructions fool you. I went to the hardware store in Park Slope, on 5th Avenue and Baltic Street, to inquire about anchors I could use. The hardware store owner asked me how many pounds I expected to place on the shelves and ended up giving me drywall anchors that would support up to 250 lbs. I used three of them, which cost about $3.99.
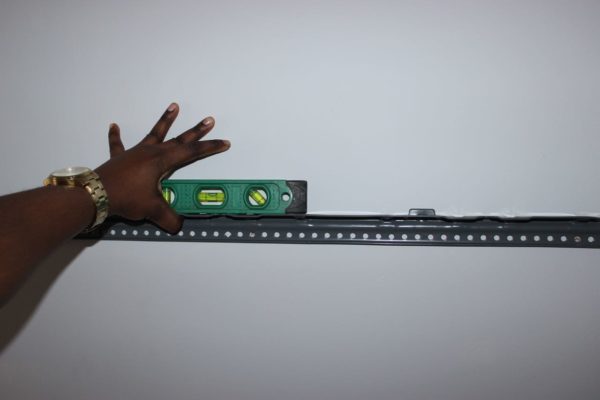
To begin my IKEA LACK shelf installation, I positioned the shelf mount to and used a leveler to make sure that my shelf would be centered. I decided to use three wall anchors, one of each end of the shelf mount and one in the middle for good measure. With a pencil, I marked where I would need to install my anchors because once you remove the shelf mount, you won’t know where to drill without small marks.
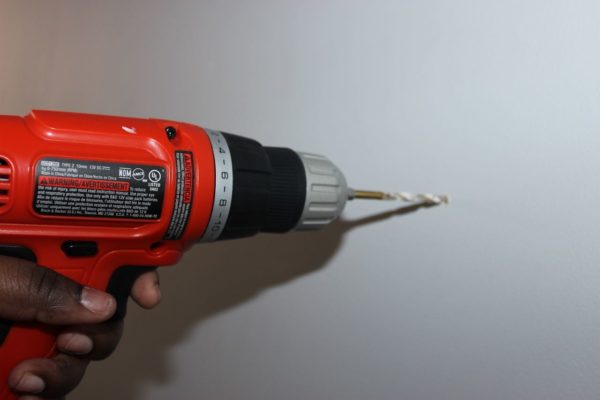
I then used my cordless drill and drilled three holes. There is no need to make it too large.
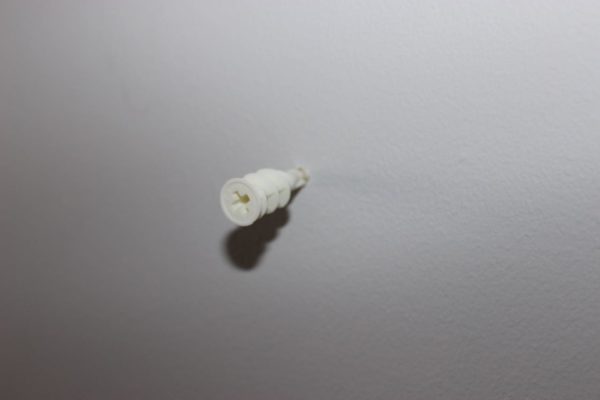
I then used my screwdriver to screw the wall anchor into the holes I just drilled.
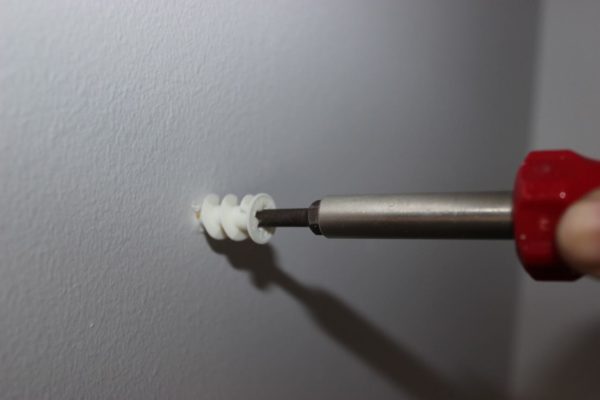
The anchors went it effortlessly. Make sure you use a Phillips Head Screwdriver and not the cordless drill. You don’t want to do major damage to your wall.
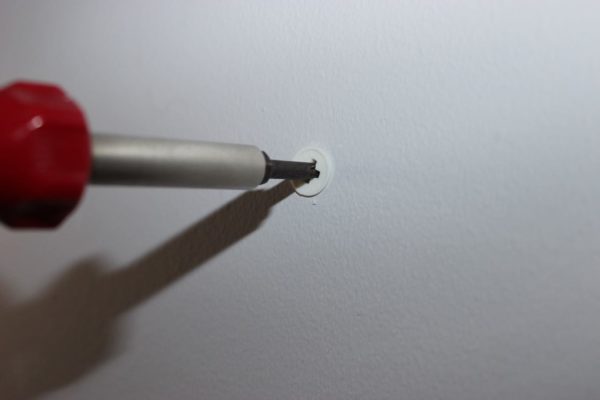
The anchor goes in all the way into the wall.
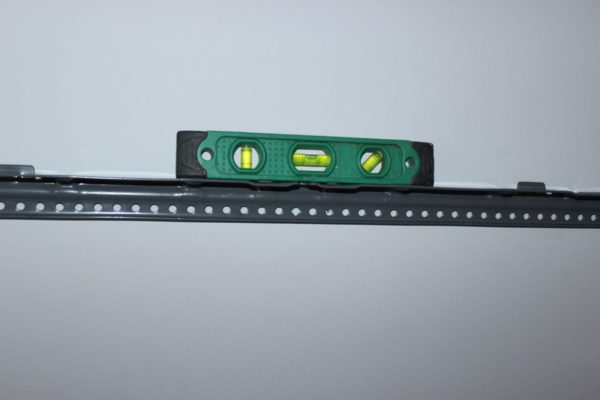
I placed the IKEA shelf mount back on the shelf to make sure that it was still leveled.
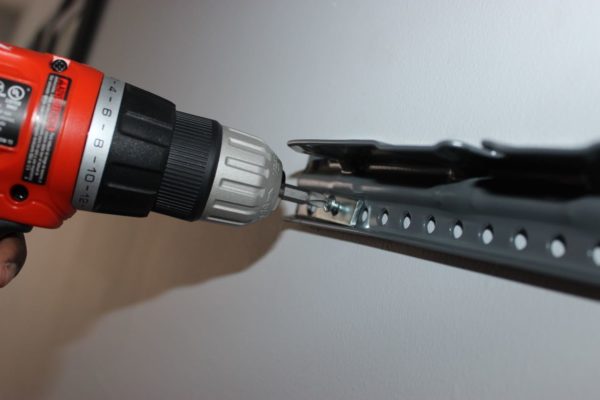
I then screwed the nail and washer into the wall anchor I had just installed.
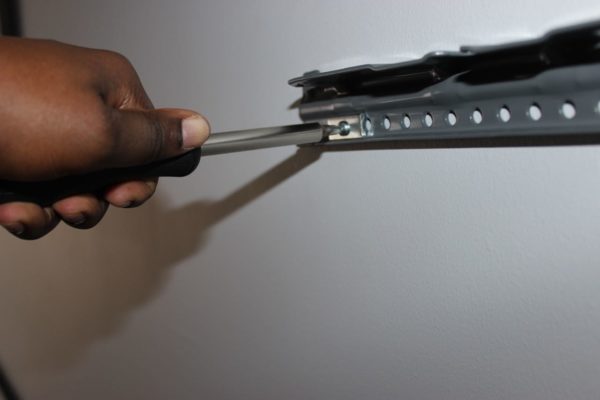
I needed to switch to a screw driver to ensure that I was able to securely attach the screws and fasten them.
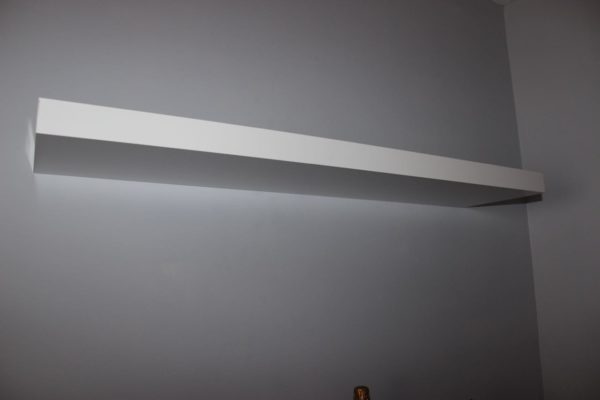 I placed the shelf onto the shelf mount and it was looking absolutely amazing. So one caveat, many people prefer to position the fasteners on top instead of the bottom so there are no visible holes when you’re look at the shelving from the bottom.
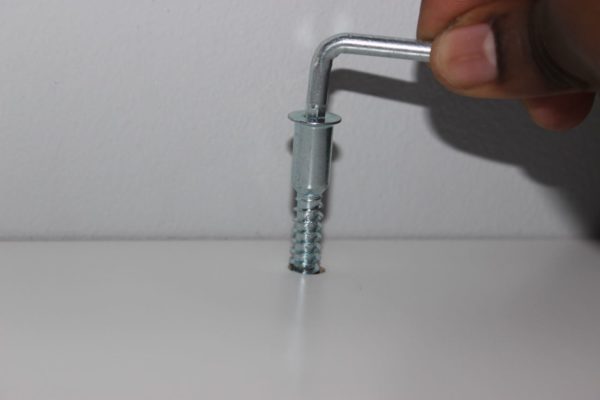
It’s a personal preference. I ended up placing mine on the bottom and screwing them in that way because I didn’t like the shelf would be as secure fastening from the top. I had to unscrew the fasteners and flip it to the bottom. It was the most nerve wracking part of this entire project.
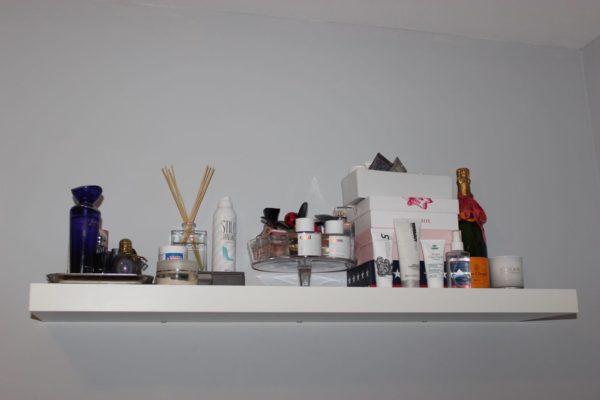
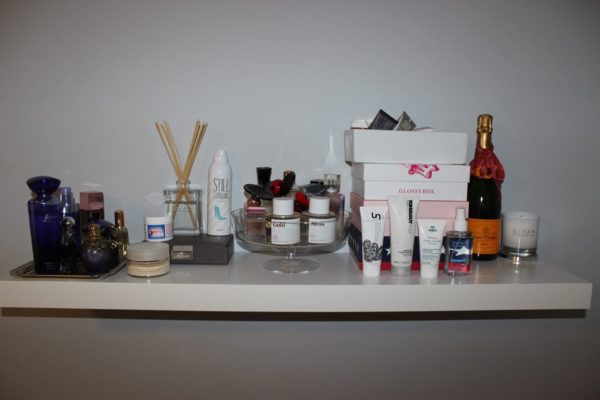 BOOM! The finished product. This shelf has freed up so much space on my dresser. It was the best purchase to date. I am going to buy the 74″ version for the top of my closet to place the remainder of my books. Leave comments below to let me know if you have any extra tips or IKEA hacks.

