

Application of makeup is an art that most women master in their own ways. It is tricky still fun to indulge in if you know how it works. But in case you don’t, the amount of stress it puts on your shoulders is enormous.
Considering there are thousands of makeup tips that exist on internet, let’s stick to the basics that are most important to prevent you from looking smeared with a bunch of products.
Clean and Moisturize:
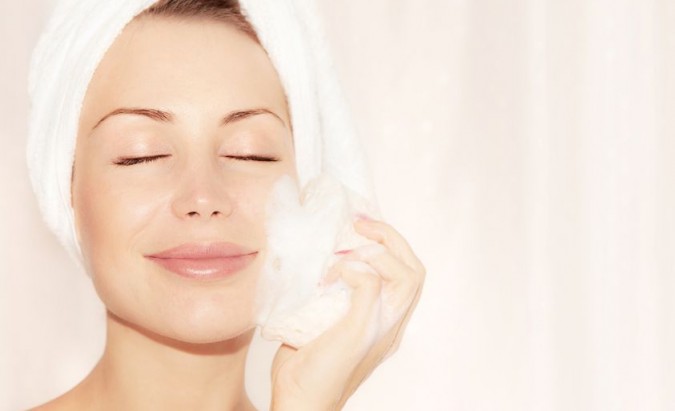
Your concealer needs to glide on your skin and not struggle through the dried out ups and downs of the surface of your skin. So, start off with cleaning your skin with a face-wash appropriate to your skin type followed by moisturizing it with an oil-free moisturizer. Hydrate your lips with a lip balm so that later when you apply lipstick, you don’t have chapped lips. If you want your make-up to stay for longer hours, do give primer a try as it not only allows your makeup to stay but also evens out the skin making your makeup look natural.
Conceal the Blemishes:

If you have them, of course! Unfortunately, most women have blemishes and the person who invented concealer played a savior, indeed! Looking at the mirror and finding all your dark spots is a bit tricky. So, here’s how you do it. Bend your chin inwards a bit and look straight into the mirror. Now when most of the dark spots are exposed to your eyes, start applying your concealer with your fingertips (fingertips work much better than a brush or a sponge). Put a few dots along the under eye circle and at the tip of the closure of your eye. Work on some of the spots on cheeks, forehead and around the nose. Tilt your chin outwards to see dark spots along the jaw line and under the chin. When you are done putting dots of concealer, blend them with a sponge. You look a bit horrible right now with patches of concealer on your skin, don’t you? We have the next step to even it out.
Put your Best Face Forward:
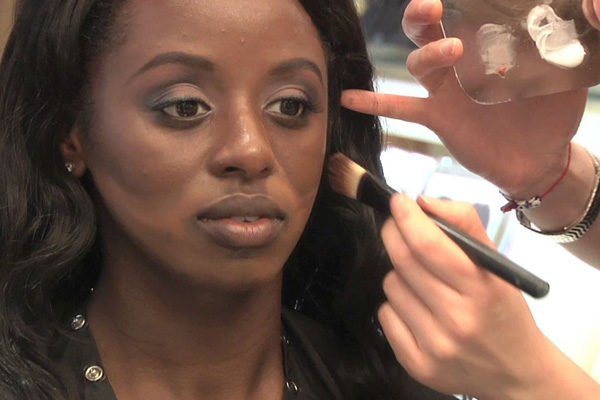
Pick a foundation similar to your skin type. Yes, that’s difficult but if you don’t choose the exact shade, you end up making your face look as if an amateur painter painted your face with his imperfect brushes. Talking of brushes, make sure you have the brushes you need for applying foundation -a flat foundation brush and a stippling brush. Begin applying foundation with a flat foundation brush downwards and blend it with the stippling brush later in circular motions when you are done with the amount of product you want to put on your face (which should be really measured and it comes with practice). Do not forget covering your ears, hair line, upper lips, area behind the ears, neck, and back of the neck. Wearing deep neck outfits means you need to cover all the area that will be exposed. The biggest turn off is when your face shines a lot more than your hands. So, make sure you apply foundation on your arms and hands evenly to match it with the tone of your skin. Take a deep breath and congratulate yourself because you look gorgeous now!
Brighten up your Eyes:
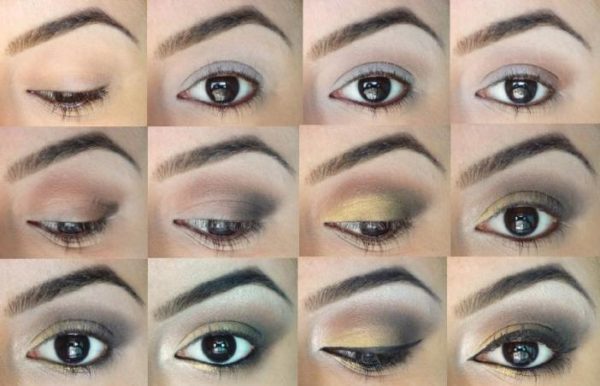
Be careful, lady, because this would either make or break your look! Before starting your eye makeup apply some face powder from a fluffy brush along the eyes to help your eye makeup last longer. Go ahead with the kind of eye makeup you wish to apply. There are hundreds of eye shadow combinations; however, sticking to the basic shades is always the safest option. Apply eyeliner and kohl once you are done with your eye shadow application. For winged eyeliner put a scale or a card at the outer corner of the eye towards the end of your eyebrow to create a well-defined winged look. Apply mascara at the end. A tip to apply mascara is to keep moving your mascara brush horizontally while moving it towards the tip. This way the mascara brush separates each lash leaving your eyes look wide-awake. If you are prone to putting mascara on your skin put a spoon or a card while applying it.
Light up your Lips:
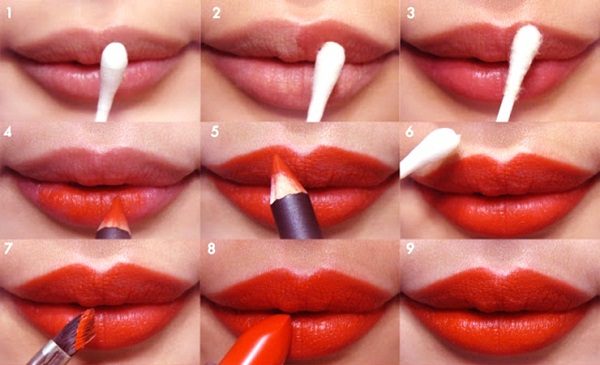
This is one thing that cheers up your entire face immediately. The first step is to sketch the outline of your lips with a lip-liner. Pick a nude shade lip-liner or a lip-liner similar to your lipstick. Once you sketch the outline, fill your lips with the lip-liner as this would keep your lipstick from fading away. Now, begin applying lipstick carefully and do not forget the inner portion of your lips. If you fear smudging your lipstick while applying, use an angled eye liner brush. Yes, an eyeliner brush instead of a lip-brush because it gives you more precise lines! Lipsticks look good on lips but not on cups and clothes. So, the next step is to stain-proof your lipstick. Take a ply of porous tissue paper and put it on along the shape of your lips. Dab some talcum powder with fluffy brush over it. Remove the tissue & ta-da! There you are with stain-proof painted lips.
Take a deep breath again because you are done with your makeup! Just as a good painting is a product of the finest colors and brushes, good make-up is only possible if you have the right products according to your skin and the right tools. Pick your products carefully and experiment with what suits you the best. Nykaa Makeup Products are worth giving a try as you have a variety of brands and options to choose from. Do not stick to conventional options because trying something new always gets you more experience and lets you explore the possibilities.
Now there’s one thing worth mentioning – Remember that no matter what make-up you put on, your attitude of carrying it matters the most and that’s what makes you look beautiful!