
Yay! I am a Lavazza Passionista again, which means you get to look forward to fun coffee recipes and ideas from yours truly using my favorite coffee brand, Lavazza. If you follow me on Twitter, you would have noticed our Academy Award recap Twitter Chat this morning at 11am that ended up trending. Lavazza gave out fabulous coffee themed prizes to some lucky followers. If you missed out on the chat and prizes, stay tuned for more opportunities throughout the year.
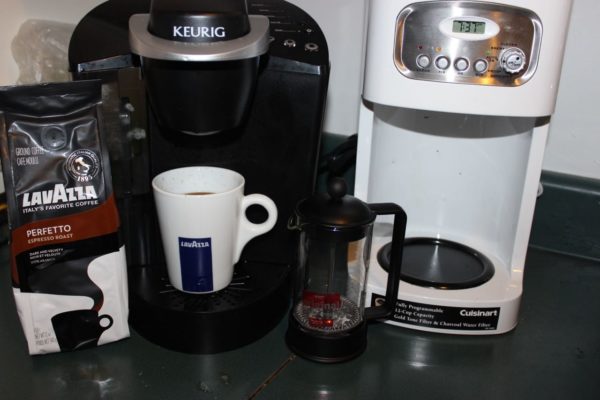
With that being said, I wanted to kick off my year long Lavazza Passionista series with one of my favorite coffee recipes, the home made latte. It is easier than you think it is and requires just a wee bit of an effort to save yourself some major cash at the coffee shop. We have several coffee makers at home, including a Keurig, a regular coffee maker, a French press and an espresso maker.
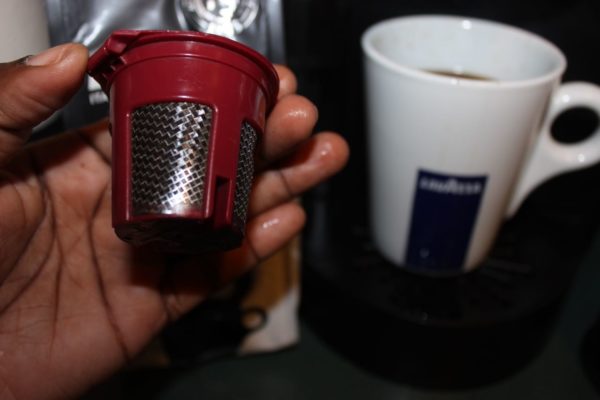
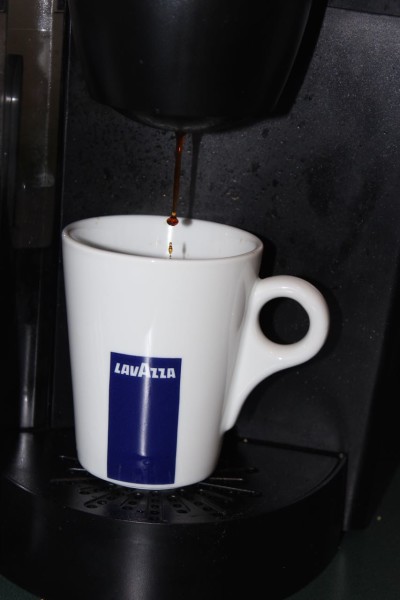
We usually set the timer on the coffee maker to brew a fresh pot for the entire house most mornings but if someone wakes up before the coffee maker goes off, they usually go for the Keurig. Lavazza has K-cups for convenience but it’s worth getting the refillable K-cup for less than $5 on Amazon. You can use your regular Lavazza coffee – I prefer the Perfetto blend – in the Keurig if you have this clever contraption. It’s the best Keurig k-cup hack.
To make the perfect latte, you’ll need the following:
- Lavazza coffee blend of choice
- Keurig/Coffee Maker/French Press
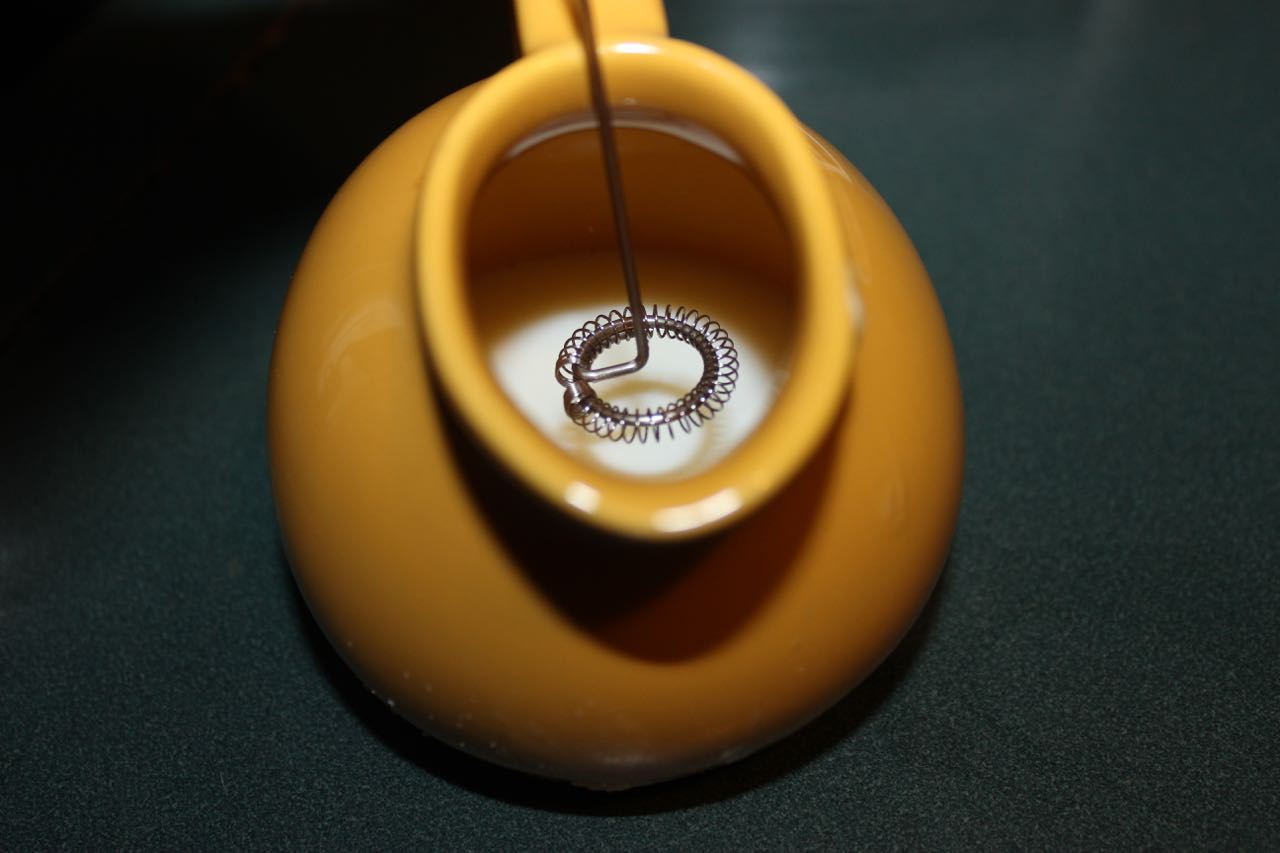
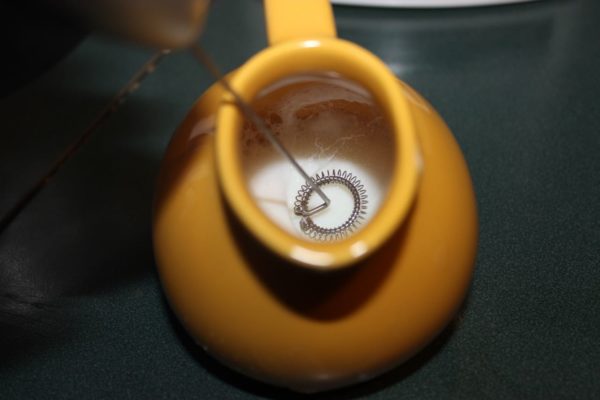
- Frother ($5 at IKEA)
- Warm milk (I use skim but you can use whatever you like, even almond milk is fine)
- Cinnamon or your favorite toppings
Let’s get started!
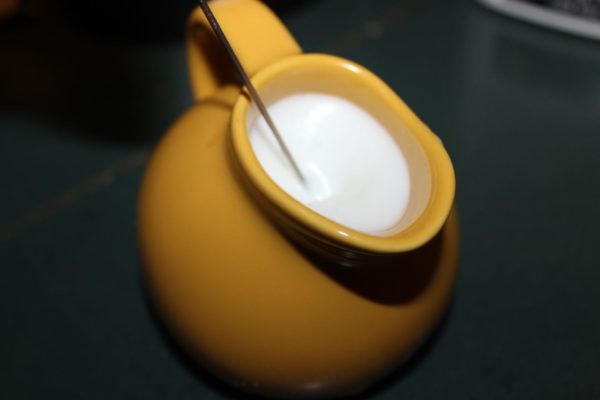
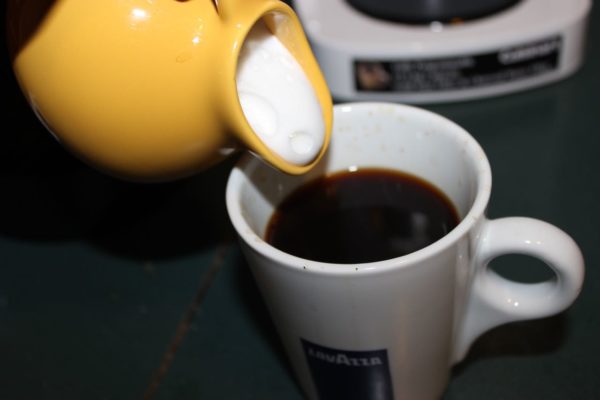
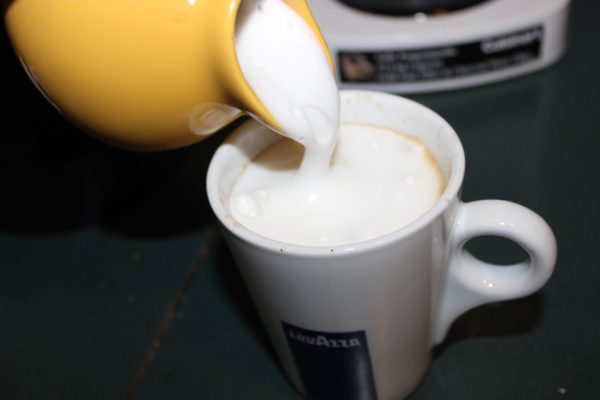
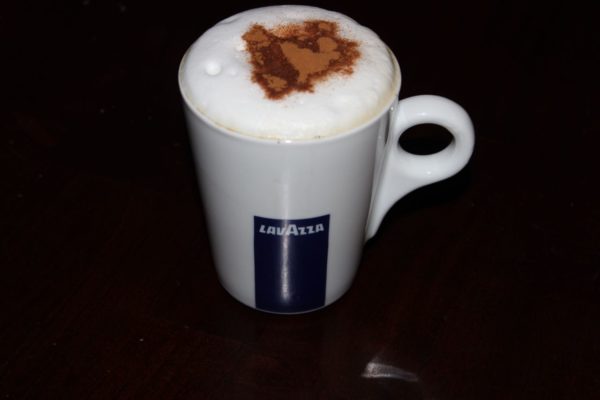
Brew the coffee to your taste, I like to use the smallest or medium cup setting on the Keurig because I get a strong brew. Fill up your mug 3/4 of the way. Then warm up your milk for less than 60 seconds in the microwave. Remove the milk and turn on your frother to froth the milk. Tip: let some air into the milk by raising the frother to the surface of the milk. You will get more foam that way. Continue until you get some airy milk froth on the surface. Now for the magic. Pour the milk into the coffee, making sure not to go over board. Then top your coffee with the frothy goodness and sprinkle with your favorite toppings. Viola!
For the visual learners out there, please see below for a step-by-step pictorial.

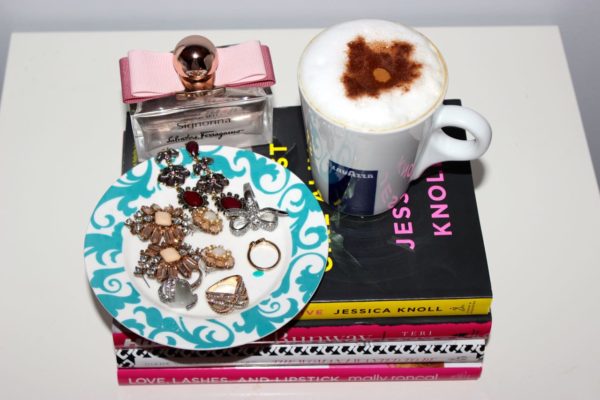
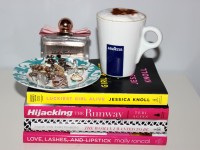
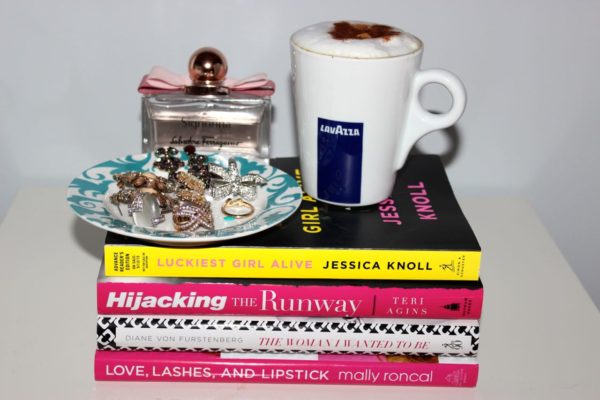
SHOP THE POST
